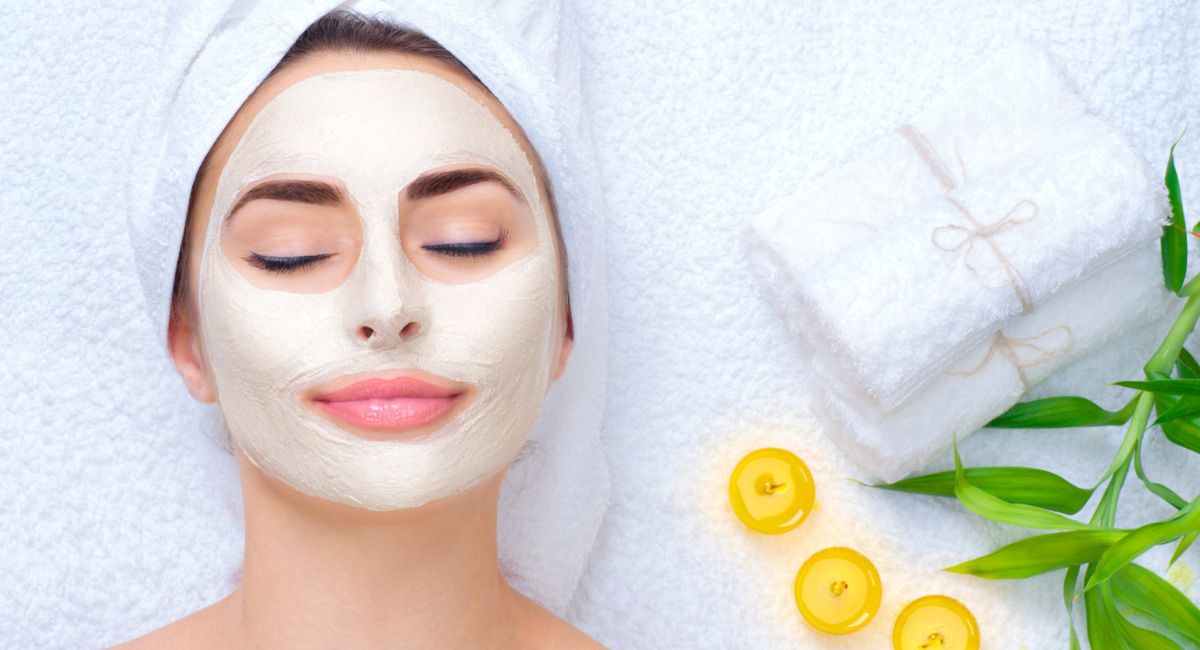
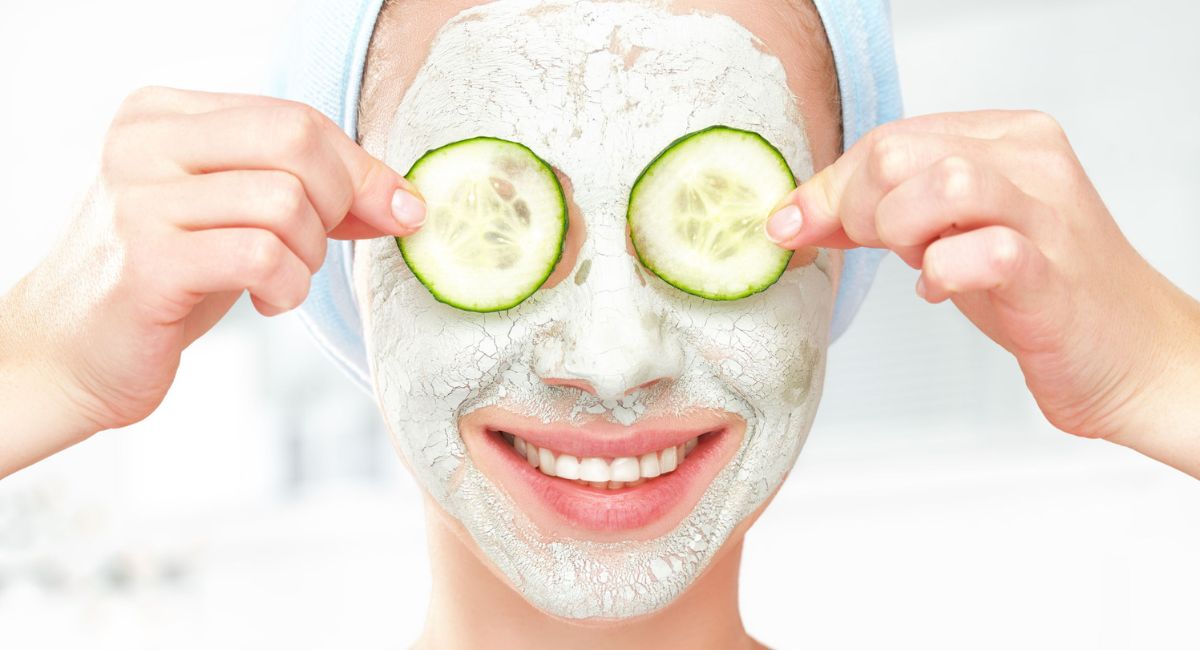
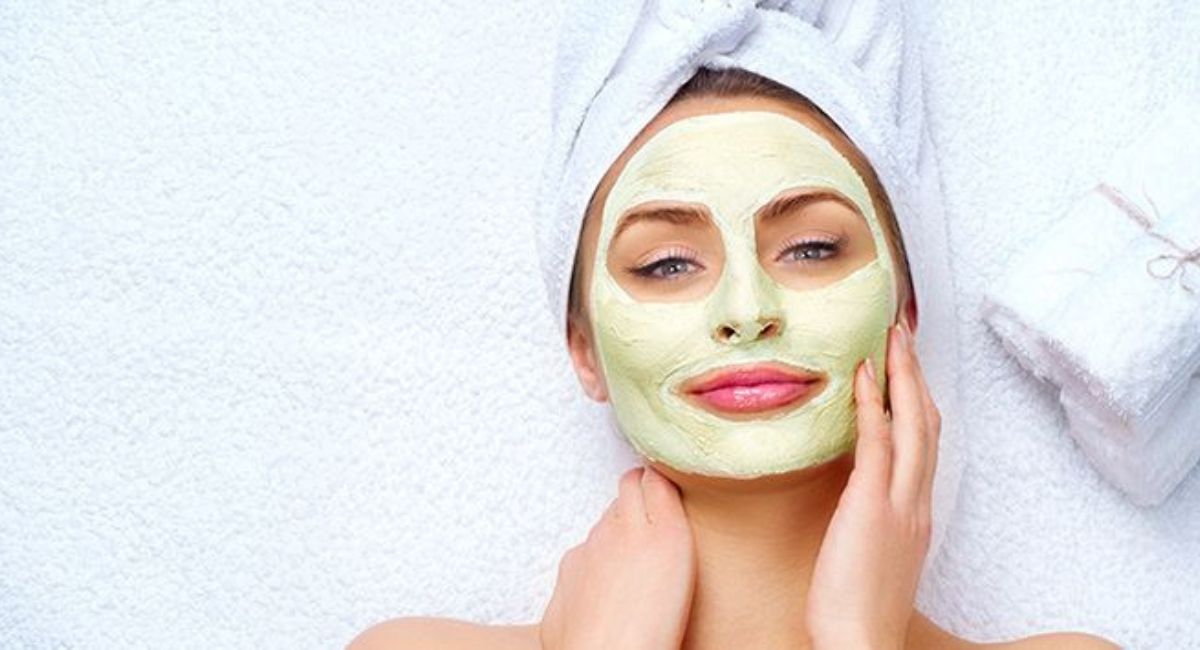
Sometimes you stand in front of the mirror and wish your skin looked brighter and calmer without spending a fortune on fancy products. Maybe you’ve tried creams that promised miracles but left you disappointed or even irritated. If that sounds familiar, you’re not alone. Many people are now searching for the Best Homemade Skin Mask because they want something simple, safe, and effective that they can make right in their own kitchen.
This blog will show you exactly how to do that. You’ll discover dermatologist-approved tips, gentle ingredients, and easy recipes for creating the Best Homemade Skin Mask for your own skin type. We’ll explain why homemade beats store-bought, how to make and apply masks correctly, and which natural remedies give real results so you can finally get that healthy glow without the guesswork.
Why Choose a Homemade Skin Mask Over Store-Bought Products?
When you use an at-home facial treatment, comfort and control sit side by side. Store-bought options might tempt you with fancy packaging and scents, but they often hide preservatives or harsh ingredients. If your skin is sensitive or reactive, those hidden additives can lead to redness or breakouts. A natural, glow mask that you prepare at home lets you skip the unknown ingredients and focus only on what your skin loves.
You save money, too. A honey and yogurt mask or a turmeric skin mask usually needs ingredients you already have. And when you create your favorite recipe, you can adjust it to your mood and needs. You can mix a skin brightening mask when you want that glow, or an anti-acne homemade mask if you’re battling breakouts. This kind of personalization gives your skin exactly what it needs, and that’s hard to find in one-size-fits-all products.

How Homemade Skin Masks Benefit Your Skin (Science & Results)
Imagine blending ingredients rich in vitamins, antioxidants, and calming compounds directly onto your face. A hydrating homemade mask like aloe vera or yogurt delivers moisture almost instantly. Meanwhile, a clay mask for oily skin helps absorb excess oil and unclogs pores, giving your face a fresh, balanced feel. You get visible results, and it feels real—not like marketing hype.
Scientists and dermatologists note how natural ingredients work. Honey has antimicrobial qualities; turmeric has anti-inflammatory properties; oatmeal soothes irritation. When you use a fruit face mask or herbal skin mask, you’re harnessing these natural benefits. Case studies show that regular use of DIY skin mask for acne-prone skin often reduces redness and blemishes. These improvements aren’t magic—they’re chemistry in edible form.
Essential Ingredients for the Best Homemade Skin Masks
Start simple with ingredients you likely already own. A honey and yogurt mask mixes moisturizing and soothing benefits. Add a pinch of turmeric, and you turn it into a mild skin brightening mask. If your skin tends to be oily, a clay mask for oily skin helps draw out impurities. You’re creating an organic skincare mask using trusted pantry staples.
If you want to go deeper, health food stores offer extras like rose water, kaolin clay, and essential oils. A dash of tea tree oil can enhance an anti-acne homemade mask. Or you can add aloe for a natural glow mask. Combine them correctly, and you get a richer, more soothing Ayurvedic face pack. That’s customizing your mask with Ayurvedic ingredients for healthy skin—all tailored to your skin’s needs.
Step-by-Step Guide: How to Make and Apply a Skin Mask at Home

First, cleanse your face so your skin is ready. With clean hands, measure your ingredients. A typical step-by-step skin mask recipe might read like this: mix two tablespoons of plain yogurt with one tablespoon of honey, stir in a pinch of turmeric if you want brightness. Always mix until smooth; consistency matters to how the mask penetrates.
Then, how to apply a face mask properly: start at your forehead and gently smooth downward. Avoid your eyes. Leave it on for about fifteen minutes—long enough to let it work but not so long that your skin dries out. Finally, rinse with lukewarm water and pat dry with a soft towel. Add a light moisturizer afterward to lock in the benefits.
Best Homemade Skin Mask Recipes by Skin Type
For oily or acne-prone skin, start with a base of clay and add a few drops of tea tree oil. This DIY skin mask for acne-prone skin calms redness and draws out impurities. You might add a splash of apple cider vinegar for extra balance, as long as you patch test first.
If your skin is dry or mature, blend avocado and yogurt with a little honey for an ultra hydrating homemade mask. It feeds your skin healthy fats and moisture. For sensitive skin, mix oatmeal and chamomile brewed strong, cooled, then blended. This homemade mask for dry or sensitive skin calms irritation gently.
Those chasing glow and brightness can use a turmeric skin mask with yogurt. A small pinch of turmeric mixed with yogurt and a squeeze of honey becomes a vibrant, radiant skin brightening mask. These recipes let your skin type guide the ingredients—and that’s the beauty of DIY.
Common Mistakes to Avoid When Using Homemade Skin Masks
Don’t leave homemade masks on longer than needed. Ingredients like clay or turmeric can over-dry or stain your skin. That’s one of the mistakes to avoid with DIY masks. You may feel tempted to push past your comfort threshold, but less is often more.
Using undiluted essential oils is another pitfall. A “drop of peppermint oil” might feel refreshing, yet it could burn or irritate without proper dilute. Stick to light, measured recipes rather than going wild. And always store masks in clean containers. Cross-contamination is easy when you reuse containers—or scoop with used utensils.
Safety Tips and Patch Testing Before Applying DIY Masks
Always patch test before using a face mask. That means applying a small dab to your inner wrist or behind your ear and waiting 24 hours. If you see redness, itching, or even a slight reaction, skip that version or tweak the ingredients. It’s a small step that avoids big reactions.
If you still break out or itch in places where you didn’t apply it, see a dermatologist. They can guide you better. During summer or high-UV days, masks with citrus or photosensitive ingredients may react in sunlight. That’s why safety tips for homemade skincare include testing and using masks wisely.
Natural Boosters: Herbs, Oils & Ayurveda for Enhanced Results

Ever heard of incorporating rose petals, neem, or sandalwood into your DIY masks? These Ayurvedic ingredients for healthy skin have centuries of use behind them. A sprinkle of powdered neem with yogurt becomes a herbal skin mask that purifies without over-drying.
You can slip in a drop of lavender essential oil into your base to relax while your skin soaks up nutrients. Adding aloe vera yields a soothing mask, gentle and healing. When you mix boosters carefully, you enhance results without losing control of the recipe. You stay in charge of what touches your skin.
How Often Should You Use Best Homemade Skin Mask?
If your skin handles it well, using a homemade face mask two to three times a week works fine for most. Oily skin may love more frequent treatments, while dry or sensitive skin might prefer once a week. Always watch how your skin responds and adjust.
Seasons matter, too. In winter, your hydrating homemade mask routine may steel your skin against dryness. In summer, you might use lighter fruit or clay masks for clarity. Keep track of what your skin thanks you for—and what it protests. Then adapt.
Final Tips for Best Homemade Skin Masks

Store your masks in clean, airtight containers and use them quickly. Many live best only a week or two. That keeps them fresh and safe. Pair homemade masks with gentle cleansing and sunscreen for better results. Don’t expect perfection overnight—your skin needs time to reveal its glow.
Here’s a quick comparison table that helps you match mask type to goal in easy terms:
| Your Goal | Try This Mask | Why It Works |
|---|---|---|
| Hydration | Avocado, yogurt, honey mix | Combines healthy fats, moisture, and soothing benefits |
| Oil control / anti-acne | Clay, tea tree, turmeric (light touch) | Absorbs oil, fights bacteria, calms inflammation |
| Comfort sensitive skin | Oatmeal, chamomile brew, a touch of aloe | Gentle, soothing, anti-irritant |
| Brighten dull complexion | Turmeric with yogurt and honey | Brightens skin tone, adds glow, invites radiance |
You’ve got a best homemade skin mask plan right in your hands. Use it with care and creativity. Trust the process and your skin will thank you with a natural, healthy glow.
Frequently Asked Questions (FAQ)
1. Can I use a homemade mask every day?
No. Most masks are best 2–3 times per week. Daily use can cause irritation.
2. Which mask is best for glowing skin?
Papaya, honey, and turmeric-based masks are known to brighten and even skin tone.
3. Are homemade masks safe for all skin types?
Mostly yes, but patch testing is essential. Sensitive skin may react to strong ingredients.
4. How long should I keep a homemade mask on?
10–20 minutes is the sweet spot. Longer can lead to dryness or irritation.
5. Do homemade masks really work, or is it just a myth?
Yes, many ingredients like honey, oats, and yogurt are scientifically proven to benefit skin.
6. Can I store homemade masks?
Fresh is best. Some can be refrigerated for 1–2 days, but avoid storing for weeks.
7. What’s the best mask for teenagers with acne?
Aloe vera + honey mask is gentle, soothing, and antibacterial—great for teen skin.
8. Do I need to moisturize after a mask?
Absolutely. Masks treat the skin, but moisturizer locks in hydration.

